
If your 20x4 e-bike tire keeps going flat, keep the failed tube and find out where it leaked before buying another prevention product. A sharp object left in the tire, damage on the rim side, and a valve leak call for different checks. Another tube won't remove the cause.
The useful question isn't just "How many flats have I had?" It's "What did the last repair find, and does this failure match it?" A short record can help a shop answer that without starting from scratch.

First, get the bike off the road
Don't ride a flat or visibly damaged tire to finish the trip. Stop somewhere safe and arrange repair or transport. A slow leak discovered at home gives you time to organize the repair, not a reason to ride until it gets worse.
For a hub-motor wheel, call ahead and confirm that the shop accepts your exact bike and can handle wheel removal and reinstallation. Don't pull on the motor cable or start dismantling the wheel from a generic video. Use the ACTBEST manual library to identify the relevant instructions; if those instructions or your equipment aren't sufficient, leave that work to the shop.
Map the repeat flat, not just the number of flats
Before the next repair, ask the shop to keep the tube and photograph the leak. Record which surface was damaged: the outside facing the tread, the inside facing the rim, or the area around the valve.
For the record to be useful, orientation matters. Ask the technician to note the tire's position relative to the valve before removal and preserve the tube's installed direction. If the tire has already been rotated or the tube flipped, don't claim that two holes match the same spot in the tire. Mark that comparison as unknown.
Use one copy of this log per incident. Photos and the work order can supply most of it.
| Repeat-flat record | What to save |
|---|---|
| Bike and affected wheel | Exact model; front or rear; tire sidewall and tube/valve markings |
| Timing | Date, distance since the last repair if known, sudden loss or slow leak |
| Leak map | Damaged surface; position relative to valve; orientation known or unknown; photo |
| Pressure record | Last gauge reading and when taken, plus the applicable tire/rim instructions |
| Inspection finding | Tire, rim strip, bead and valve findings; object or damage photographed; who inspected it |
| Repair and outcome | Parts replaced or reused, work-order reference, and whether the next leak matched |
Park Tool's tire and tube inspection guide distinguishes tread punctures, rim pinches, rim-side damage and valve problems. Use those clues to direct an inspection, not to diagnose the bike from a hole's shape.
| What the shop finds | What to ask next |
|---|---|
| Hole facing the tread | Is an object still embedded in the corresponding part of the tire? Is the casing sound? |
| Paired slits or damage after an impact | Do the tire and rim support a pinch explanation? Was installation damage also ruled out? |
| Hole facing the rim | Does the rim strip cover the spoke holes? Are there sharp edges or protruding parts? |
| Damage around the valve | Is the tube seated correctly, and is the valve or its opening damaged? |
| Air loss without an obvious hole | Can the shop locate the leak before recommending another tire? |
Don't search a damaged casing with bare fingers. Let the technician inspect for hidden sharp debris. If the old tube was discarded, start the record with this repair; don't reconstruct a precise leak location from memory.
Two flats need not have the same cause. Ask the shop to compare the evidence from each, rather than assume every failure on one wheel belongs to the same problem.
Choose prevention after the cause is known
I'd spend the next repair budget on identifying an unexplained repeat leak before adding a liner or sealant. If the shop finds a rim-side problem, ask how that problem will be corrected. If it finds repeated tread penetrations with an otherwise serviceable wheel, puncture protection is a more relevant conversation.
If the inspection also finds a broken spoke or a wheel that needs rebuilding, our spoke-repair options guide helps you compare the shop's proposed scopes. A rim-side leak alone does not establish a spoke failure.
Schwalbe's puncture-protection guidance covers both protection options and their limits, including tube abrasion from a moving liner and cuts that sealant cannot repair.
| Option | When to discuss it | What must be settled first |
|---|---|---|
| Replacement tube or an eligible patch repair | Restoring the tubed setup after the cause is addressed | Correct tube size and valve; whether the damage is repairable |
| Puncture-resistant tire | Reducing some future tread penetrations | Tire/rim fit, clearance and permitted use; it is not a remedy for rim-side damage |
| Tire liner | An additional barrier against tread punctures | Correct size and installation; a poorly positioned or moving liner can damage the tube |
| Compatible sealant | Punctures within that product's stated repair scope | Approval for the actual tube or tubeless setup, valve access and upkeep; not every cut is sealable |
Don't confuse a spare tube with prevention. It is a way to deal with a future flat, provided you have the right parts, tools and a safe way to do the repair.
A 20x4 label doesn't establish the whole setup
If you're still comparing tread, sidewall and puncture-protection features, our guide to e-bike tire types gives you the vocabulary. It isn't a fit check for this wheel.
A tubed setup holds air in an inner tube. Tubeless holds air without that tube and requires a compatible tire, rim, valve and sealing system. Park Tool's tubeless compatibility reference explains why these parts must work together. Don't assume your wheel is tubeless-ready, pour in an unapproved sealant, or use a tubeless plug procedure just because the tire is wide.
For a replacement tire, confirm the bead-seat diameter, where the tire's edge fits the rim, as well as compatible width and bike clearance. For a tube, confirm the intended tire-size range and valve. Park Tool's fit standards explain those distinctions. "20x4" is a starting point for identifying parts, not a complete compatibility check.
Use a gauge, not a borrowed pressure number
Ask the shop for a suitable pressure for your actual tire, rim, load and use within the applicable component and bike limits. Record the gauge reading, not "felt firm." Schwalbe's pressure guidance explains why there is no single pressure recommendation for every bike or tire, and why squeezing a tire is unreliable. Don't copy another model's setting.
What changes for an ACTBEST 20x4 bike?
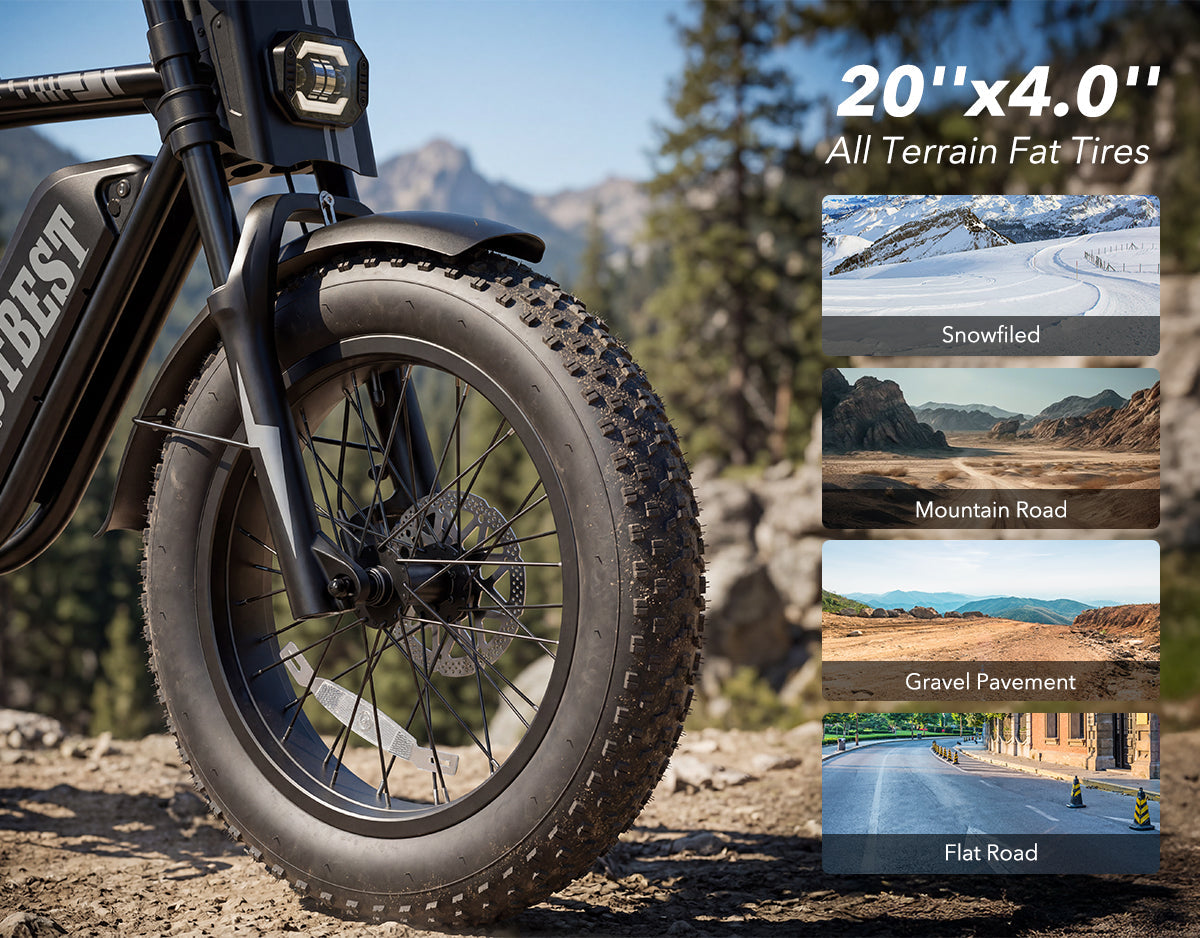
Our Mars Plus ST product page lists 20 x 4.0-inch tires. The regular Mars page lists 20 x 3.0-inch tires. These are manufacturer listing specifications checked on September 29, 2026. The models are not interchangeable references for a parts order.
Check the markings on the tire actually fitted to your bike, especially if it has been replaced. Send the affected wheel's sidewall photo, full bike model and order reference privately to ACTBEST support if its identity is unclear. Have the servicing shop confirm the rim, tube and valve before ordering.
The product-page size doesn't establish an approved replacement tire, liner, sealant or pressure. If the listing and your bike disagree, resolve that difference before buying parts.
Set up the next repair to last
Ask for a short work-order note: where the leak was, what caused it or remains unexplained, what was corrected, and which parts now fit the wheel. Have the technician confirm tire seating and wheel installation before the bike returns to use.
Then agree on a realistic roadside plan. That might mean a compatible spare tube and pump for repairs you can safely perform, or a pickup plan for a motor wheel you won't remove yourself. A spare tube is useful only if you also have a workable repair plan.
If the tire loses air again, stop and save the evidence. The next repair should build on what the last one found, not simply repeat the same purchase.
Share:
How to Verify E-Bike Certification for Campus Storage and Charging
ACTBEST Error Codes: What to Record Before Contacting Support